Quality Control

Quality Control
Following the production self-monitoring, the final inspection aims to verify the conformity of the parts with customer requirements.
This rigorous process is essential to ensure that every part produced meets the highest quality standards and fulfills our clients’ specific expectations.
To achieve this, our final inspection relies on highly specialized and efficient human and material resources.
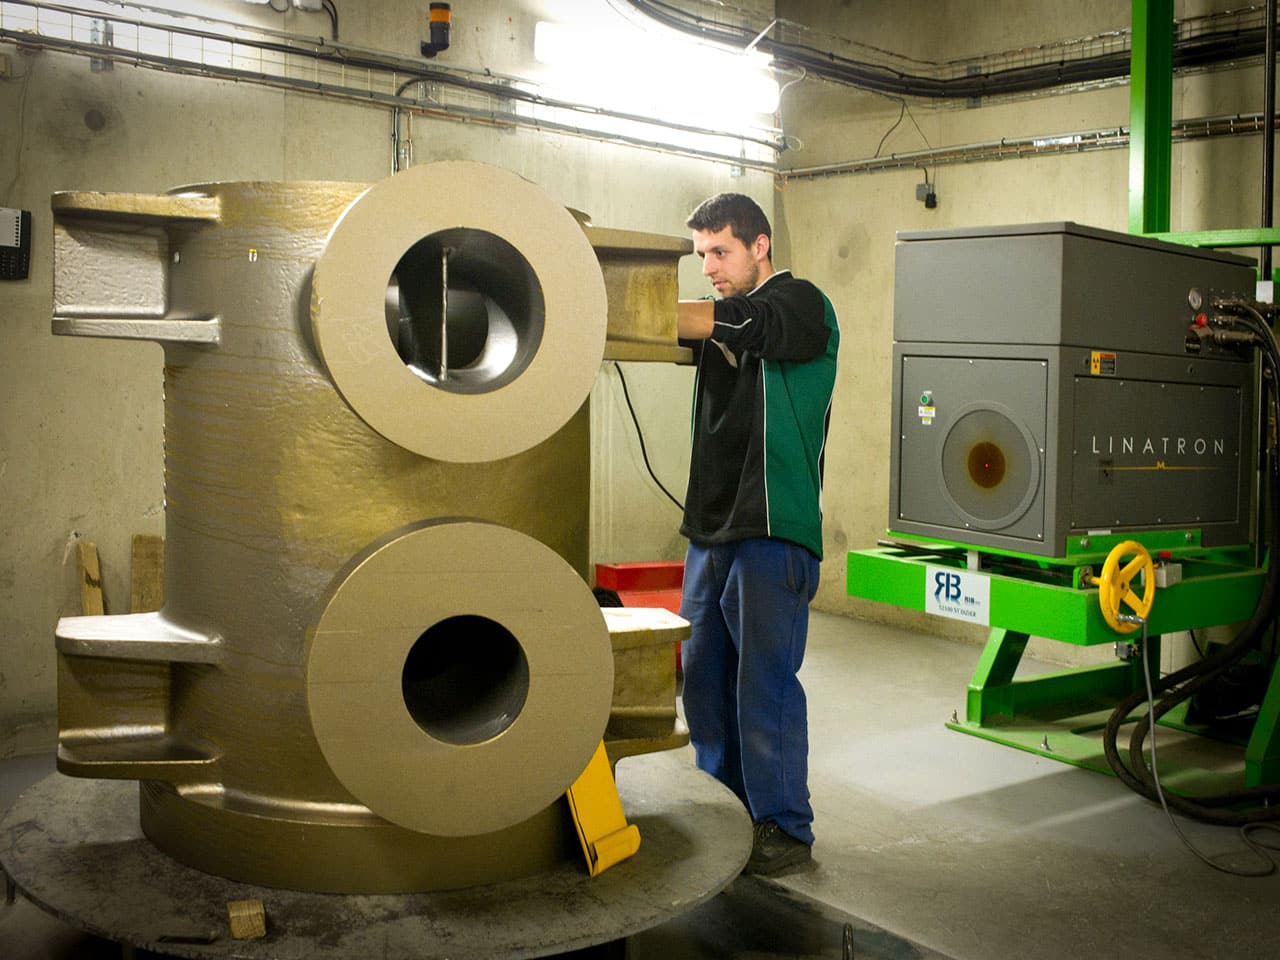
Liner particle accelerator
Liner particle accelerator : With a power of 3 MeV, the linear accelerator is an innovative and highly efficient inspection tool, far more precise than traditional radioactive sources.
This equipment, one of the most advanced in Europe, has been operational at FVF since 2011 and has proven its worth in terms of productivity and performance.
Metrologie :
Three-dimensional measurement arm by contact or scanner and 3D machine for machined parts.
Magnetic Particle Inspection :
Clamp generators, electromagnets, and rotating field generators.
Dye Penetrant Testing :
On raw or machined parts, using nuclear-approved products.
Ultrasonic Testing :
Recent devices and special probes tailored to meet customer requirements.
Pressure Testing :
Water tightness testing up to 100 bars.
Mechanical Testing :
Tensile testing at room temperature, bending tests, resilience testing down to -196°C, and Brinell hardness testing.
Metallurgical Expertise :
Micro/macrography, corrosion testing, ferrite content measurement, and more.
Measuring Devices :
These allow for the validation of non-destructive testing conditions (calibration blocks, magnetometers, light meters, various indicators, etc.).
